

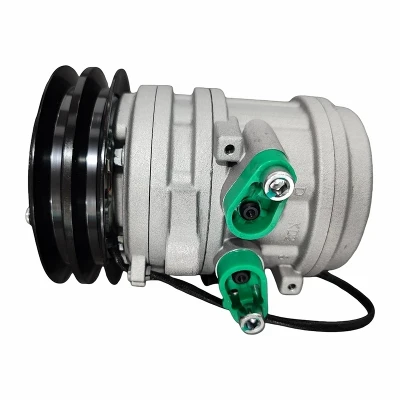
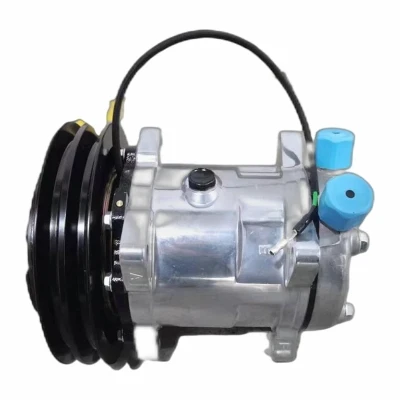
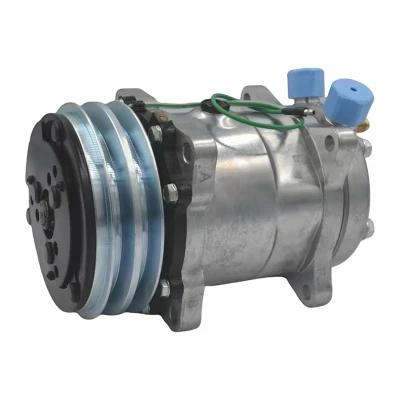
A condensate drain is a crucial component in a construction machinery compressor, responsible for removing the accumulated water vapor generated during the compression process. If not properly installed and maintained, excessive moisture can cause corrosion, reduce the efficiency of the compressor, and even lead to mechanical failures. As a leading supplier of construction machinery compressors, we understand the importance of a correctly installed condensate drain. In this blog, we'll offer you a detailed guide on how to install a condensate drain in a construction machinery compressor.
Understanding the Basics of the Condensate Drain
Before starting the installation process, it's essential to understand what a condensate drain is and how it works. A condensate drain is designed to collect and remove the condensed water from the compressor system. Compression of air raises its temperature, and when the air cools down, the water vapor within it condenses into liquid water. If this water is not removed, it can mix with the lubricating oil in the compressor, causing damage to internal components and shortening the lifespan of the compressor.
Tools and Materials Needed
- Condensate drain kit (compatible with your compressor model). You can find suitable models in our product range, including Engineering Vehicle Refrigeration Compressor, Mining Machinery Compressor, Construction Engineering Compressor, Engineering Vehicle AC Compressor, and Heavy Machinery Compressor.
- Wrenches (adjustable and socket wrenches).
- Pipe cutter.
- Teflon tape.
- Safety goggles and gloves.
Step-by-Step Installation Process
Step 1: Safety First
Before you begin any work on the compressor, ensure that it is completely shut down and disconnected from the power source. Wear safety goggles and gloves to protect yourself from any potential hazards, such as sharp edges or debris.
Step 2: Locate the Condensate Drain Point
The condensate drain point is typically located at the lowest point of the compressor system, where the condensed water naturally accumulates. This could be at the bottom of the air receiver tank, the after - cooler, or other low - lying areas in the system. Refer to the compressor's user manual to find the exact location.
Step 3: Prepare the Drain Line
If the condensate drain kit comes with a pre - cut drain line, make sure it is the appropriate length for your installation. If not, use a pipe cutter to cut the drain line to the correct length. Apply Teflon tape to the threaded ends of the drain line to create a watertight seal.
Step 4: Install the Drain Valve
Attach the drain valve to the condensate drain point on the compressor. Use the appropriate wrench to securely tighten the valve. Make sure not to overtighten, as this could damage the threads or the valve itself.
Step 5: Connect the Drain Line
Connect one end of the prepared drain line to the drain valve. Again, use a wrench to tighten the connection. The other end of the drain line should be directed to a proper drainage area, such as a floor drain or a collection container. Ensure that the drain line is sloped downward to allow for proper water flow.
Step 6: Test the Installation
Once the installation is complete, reconnect the compressor to the power source and turn it on. Allow the compressor to run for a few minutes to build up pressure and generate condensate. Check for any leaks around the drain valve and the drain line connections. If you notice any leaks, turn off the compressor and tighten the connections further or replace the Teflon tape.
Maintenance of the Condensate Drain
Regular maintenance of the condensate drain is essential to ensure its proper functioning. Here are some maintenance tips:


- Regular Inspection: Inspect the drain line and valve for any signs of blockage, corrosion, or damage.
- Cleaning: Periodically clean the drain line and valve to remove any debris or sediment that may have accumulated.
- Drain Testing: Test the drain valve regularly to make sure it opens and closes properly.
Troubleshooting Common Issues
- Blocked Drain Line: If the drain line is blocked, the water will not be able to flow out. This can be caused by debris or sediment buildup. To fix this, disconnect the drain line and use a pipe cleaner or compressed air to clear the blockage.
- Leaking Drain Valve: A leaking drain valve can be due to a worn - out seal or improper installation. Replace the seal if necessary, and make sure the valve is properly tightened.
Importance of a Properly Installed Condensate Drain
A properly installed condensate drain offers several benefits:
- Improved Compressor Efficiency: By removing the excess moisture, the compressor can operate more efficiently, reducing energy consumption and wear on the components.
- Extended Lifespan: Minimizing the exposure of the internal components to moisture helps to prevent corrosion and rust, extending the lifespan of the compressor.
- Reduced Maintenance Costs: Fewer breakdowns and less frequent component replacements result in lower maintenance costs over the long term.
As a reliable supplier of construction machinery compressors, we are committed to providing high - quality products and support to our customers. If you are in the market for a new construction machinery compressor or need assistance with the installation of a condensate drain, we'd love to discuss your requirements. Our team of experts can provide detailed product information, installation guidance, and help you find the best solutions for your specific needs. Contact us to start the conversation and take the first step towards a more efficient and reliable compressor system.
References
- "Compressor Handbook" by Compressed Air and Gas Institute
- Manufacturer's manuals for construction machinery compressors