

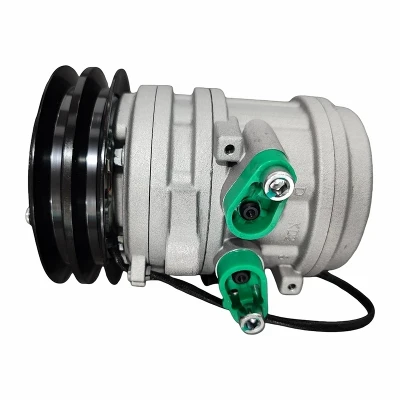
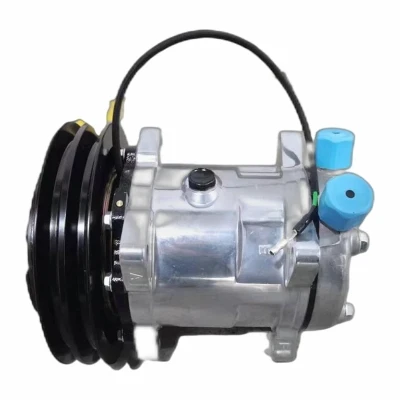
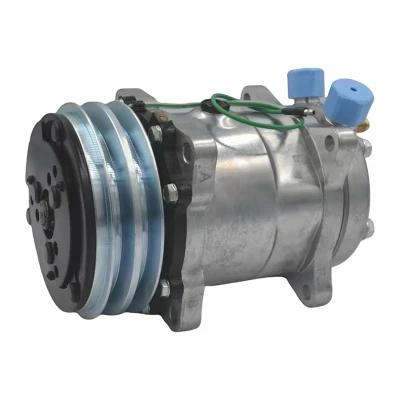
Hey there! As a supplier of tractor compressors, I've seen firsthand how important it is to connect these bad boys to other equipment properly. It can be a bit of a head - scratcher at first, but with the right know - how, you'll be up and running in no time. So, let's dive into how to connect a tractor compressor to other equipment.
Understanding Your Tractor Compressor
Before we get into the nitty - gritty of connections, it's crucial to understand what your tractor compressor is all about. A tractor compressor is a powerful machine that generates compressed air. This compressed air can be used for various tasks, like powering pneumatic tools, inflating tires, and even operating some types of agricultural machinery.
There are different types of tractor compressors out there, such as piston compressors and rotary screw compressors. Each type has its own set of features and performance characteristics. For example, piston compressors are generally more affordable and suitable for small - scale applications, while rotary screw compressors are known for their high - volume air delivery and continuous operation capabilities.
If you're in the market for a smaller option, you might want to check out our Mini Agricultural Compressor. It's perfect for those who need a compact and efficient compressor. And if you're dealing with specialized agricultural machinery, our Special Compressor for Agricultural Machinery is a great choice.
Safety First
Before you start connecting anything, safety should be your top priority. Turn off the tractor and make sure the compressor is completely shut down. Also, relieve any pressure that might be in the compressor's system. Wear appropriate safety gear, like safety glasses and gloves, to protect yourself from any potential hazards, such as flying debris or high - pressure air leaks.
Step 1: Choose the Right Hoses and Fittings
The first step in connecting your tractor compressor to other equipment is to select the right hoses and fittings. The hoses need to be made of a material that can handle the pressure generated by the compressor. Typically, rubber or PVC hoses are good choices. Make sure the hoses are long enough to reach the equipment you want to connect to but not so long that they become a tripping hazard or cause excessive pressure drops.
The fittings are equally important. You need to ensure that the fittings on the compressor and the equipment are compatible. There are different types of fittings, such as quick - connect fittings, which are very convenient as they allow for easy and fast connections. You can find a wide variety of hoses and fittings at your local hardware store or from specialized compressor parts suppliers.
Step 2: Prepare the Compressor
Once you have your hoses and fittings ready, it's time to prepare the compressor. Check the compressor's air outlet port. It should be clean and free of any debris or dirt. If there's any dirt or debris, use a clean cloth or a small brush to clean it. You can also inspect the port for any signs of damage, such as cracks or leaks. If you find any damage, it's important to repair or replace the port before proceeding.
Step 3: Connect the Hoses to the Compressor
Now it's time to connect the hoses to the compressor. Take one end of the hose and attach it to the air outlet port of the compressor. If you're using a quick - connect fitting, simply push the fitting onto the port until you hear a click, which indicates that it's securely connected. For non - quick - connect fittings, you may need to use wrenches to tighten the connection properly. Make sure not to overtighten, as this can damage the fittings or the compressor port.
Step 4: Connect the Other End of the Hose to the Equipment
After connecting the hose to the compressor, move on to connecting the other end of the hose to the equipment you want to power. Just like with the compressor, make sure the equipment's air inlet port is clean and free of damage. Attach the hose to the equipment's port using the appropriate fitting. Again, if it's a quick - connect fitting, a simple click should do the trick. For non - quick - connect fittings, tighten them using wrenches.
Step 5: Check for Leaks
Once the connections are made, it's important to check for air leaks. Apply a soapy water solution to all the connections, including where the hoses are attached to the compressor and the equipment. If you see any bubbles forming, that means there's a leak. Tighten the connections a bit more and re - check. If the leak persists, you may need to replace the fitting or the hose.


Step 6: Power Up and Test
If there are no leaks, it's time to power up the tractor and start the compressor. Gradually increase the pressure to the required level for the equipment you're using. Start the equipment and see if it's working properly. Pay attention to any unusual noises or vibrations, as these could indicate a problem with the connection or the equipment itself.
Different Equipment Connections
Pneumatic Tools
When connecting a tractor compressor to pneumatic tools, make sure the compressor can deliver enough air volume and pressure for the tool. Different pneumatic tools have different requirements. For example, a nail gun may require less air volume compared to a jackhammer. You can usually find the air requirements of the tool in its user manual.
Agricultural Machinery
For agricultural machinery, like our Agricultural Machinery AC Compressor and Modern Agricultural Equipment Compressor, the connection process is similar. However, these machines may have specific connection points and requirements. Always refer to the machinery's manual for detailed instructions.
Rice Transplanter
The Rice Transplanter Compressor also needs to be connected carefully. The compressor provides the compressed air needed for the transplanter's operation. Make sure the hoses are properly connected to the transplanter's air - intake system to ensure smooth operation.
Troubleshooting
If you encounter any problems during the connection or operation, don't panic. Here are some common issues and solutions:
- Low air pressure: Check for leaks in the hoses or fittings. Also, make sure the compressor is operating at the correct pressure settings.
- No air flow: This could be due to a blocked hose or a problem with the compressor. Check the hoses for any obstructions and inspect the compressor's internal components, such as the air filter.
- Excessive noise or vibration: This may indicate a loose connection or a problem with the compressor's internal parts. Check all the connections and have the compressor serviced if necessary.
Wrapping Up
Connecting a tractor compressor to other equipment isn't too difficult once you know the steps. By following the guidelines above, you can ensure a safe and efficient connection. Whether you're using the compressor for small - scale DIY projects or large - scale agricultural operations, proper connection is key to getting the most out of your equipment.
If you're interested in purchasing a high - quality tractor compressor or need more information about our products, feel free to reach out. We're here to help you find the right compressor for your needs and guide you through the connection process. Let's start a conversation and see how we can work together to make your operations more efficient.
References
- Compressor Manuals: The manuals provided with the tractor compressors and other equipment offer detailed information on specifications, operation, and connection.
- Industry Publications: Various industry - specific magazines and online resources provide insights into compressor technology and best practices for equipment connections.